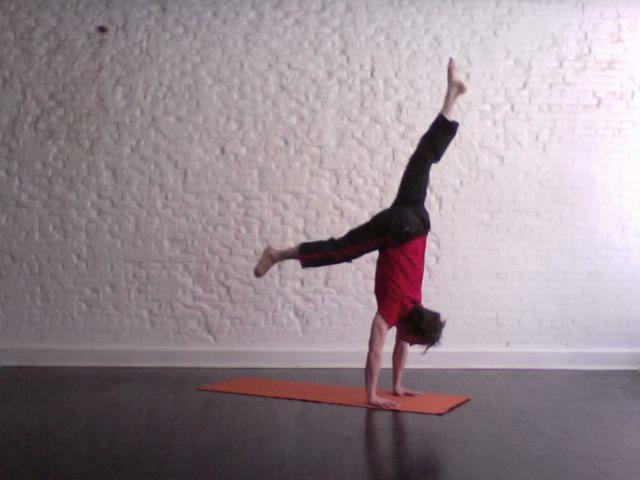
Do you know how to do a handstand yoga? Don’t worry. It is not as hard as it sounds. In fact, it can be achieved with a few basic moves. Here’s how:
The most important thing is to be flexible enough to get into the best position to do a handstand yoga.
- You should begin by placing your feet side by side and bending down to touch your nose to your legs, while keeping your legs straight. This is very important. The flexibility will aid you in getting up into the right handstand position.
- Once you are able to comfortably touch your nose to your knee area, place your hands on the floor a couple of feet in front of you.
- While keeping your legs straight, walk your hands out until you make an inverted V shape. Your legs, spine and arms, should all be straight.
- When you are ready, shift your weight forward onto the toes of one foot and raise your other leg. Make sure your raised leg is straight.
- Push off from your leg and raise up onto your toes. Try to continue raising your other leg as high as you can. This will help in getting you up into the proper handstand yoga position.
- Rock your weight forward onto your hands and make sure your fingers are spread as far apart as possible. This helps to give you a more stable foundation.
- From here, you simply rotate your legs up and into the position of your choice. You can bring both legs together over your head in a classic handstand position or you can split them apart in a more traditional yoga style.
The possibilities are pretty much endless. There you go. Now you know how to do a handstand yoga. Keep in mind that the handstand requires a good deal of shoulder strength, so you may want to work some shoulder exercises to build up your strength in that area.
The next time someone asks you if you know how to do a handstand yoga, you can tell them you do.

